How to Configure Windows 365 Azure AD Join Single Sign-on (SSO)
01-06-2023 8:46 PM
BEFORE YOU BEGIN
Disclaimer: All information and content in this blog post is provided without any warranty whatsoever. The entire risk of using this information or executing the provided content remains with you. Under no circumstances should the mentioned persons or vendors, the author, or anyone else involved in creating these blog posts be held liable for any damage or data loss.
Introduction
In September 2022, Microsoft announced the public preview of single sign-on (SSO) and passwordless authentication for Azure Virtual Desktop. – Since then, many of us have been waiting for Windows 365 Azure AD Join SSO support. The wait is finally over because Microsoft has recently announced that Windows 365 now supports creating Azure AD Joined Cloud PCs that use SSO for Cloud PC login!
Note: Windows 365 Hybrid Azure AD Join SSO support is still not supported! – See features in development
Why is SSO support that interesting, you might ask? It’s interesting because until now, the user must first sign in to the Windows 365 service and then to their personal Windows 365 Cloud PC either through the Web Portal, Remote Desktop App, or the new Windows 365 App. – And that’s not what I call a great end-user experience! So, In this blog post, I will show you how to enable SSO for an existing provisioning policy in Microsoft Intune. If you’re looking for Windows 365 Enterprise Cloud PC prerequisites and requirements and information about how to set it up, look no further:
Enable the Windows 365 SSO Option
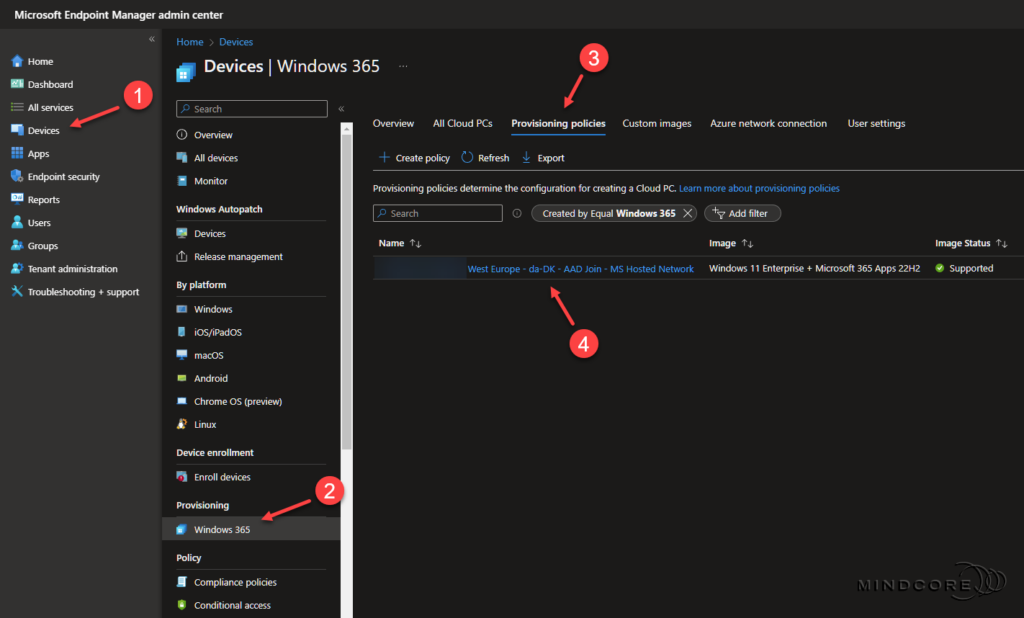
First, let’s visit Microsoft Intune and turn on SSO for my current Windows 365 provisioning policy. Go to https://intune.microsoft.com In the left pane, click Devices | Windows 365 | Provisioning policies Create a new policy or select an existing policy in the list of provisioning policies. – For this post, I chose to modify my current provisioning policy.
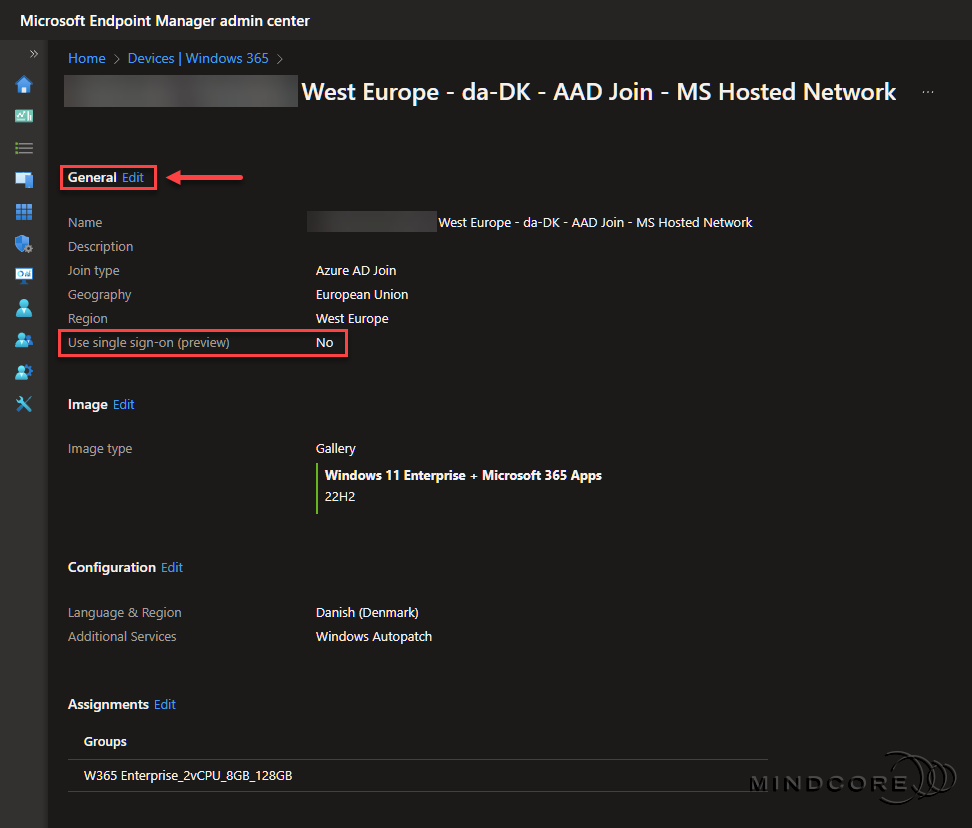
On the overview page, look for General and click Edit.
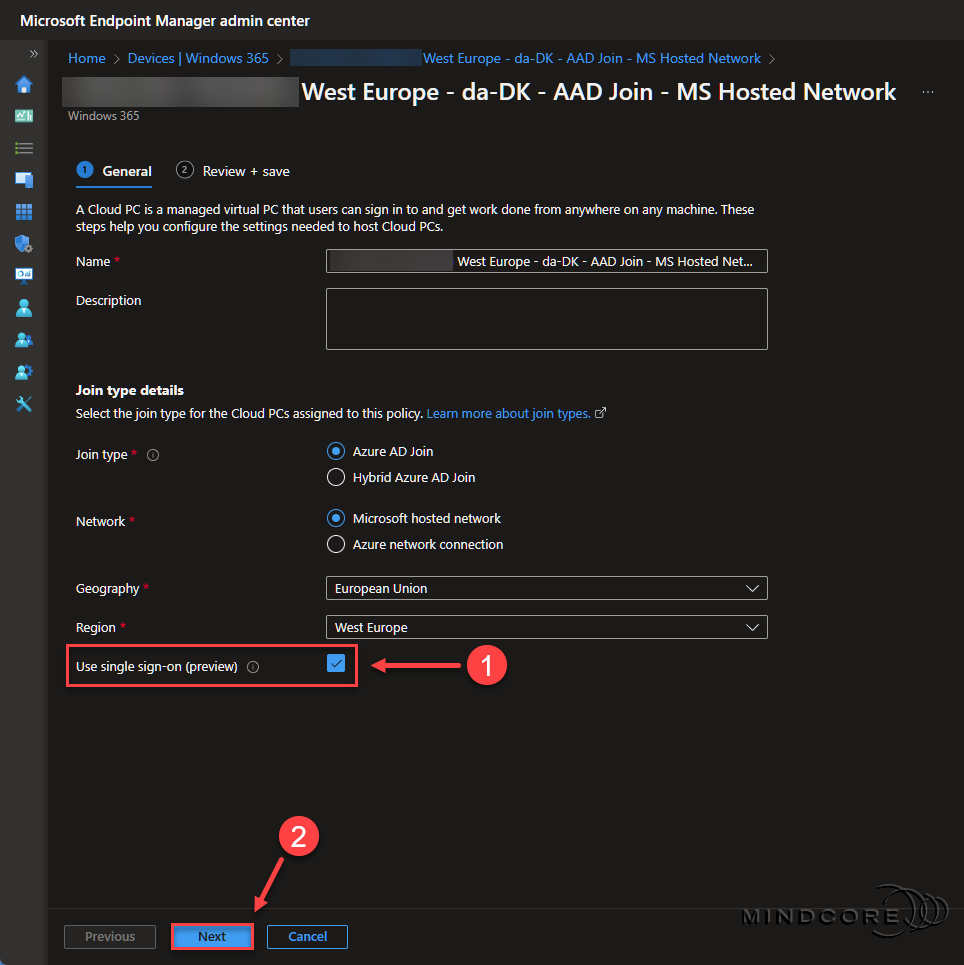
Check Use single sign-on (preview) and click Next.
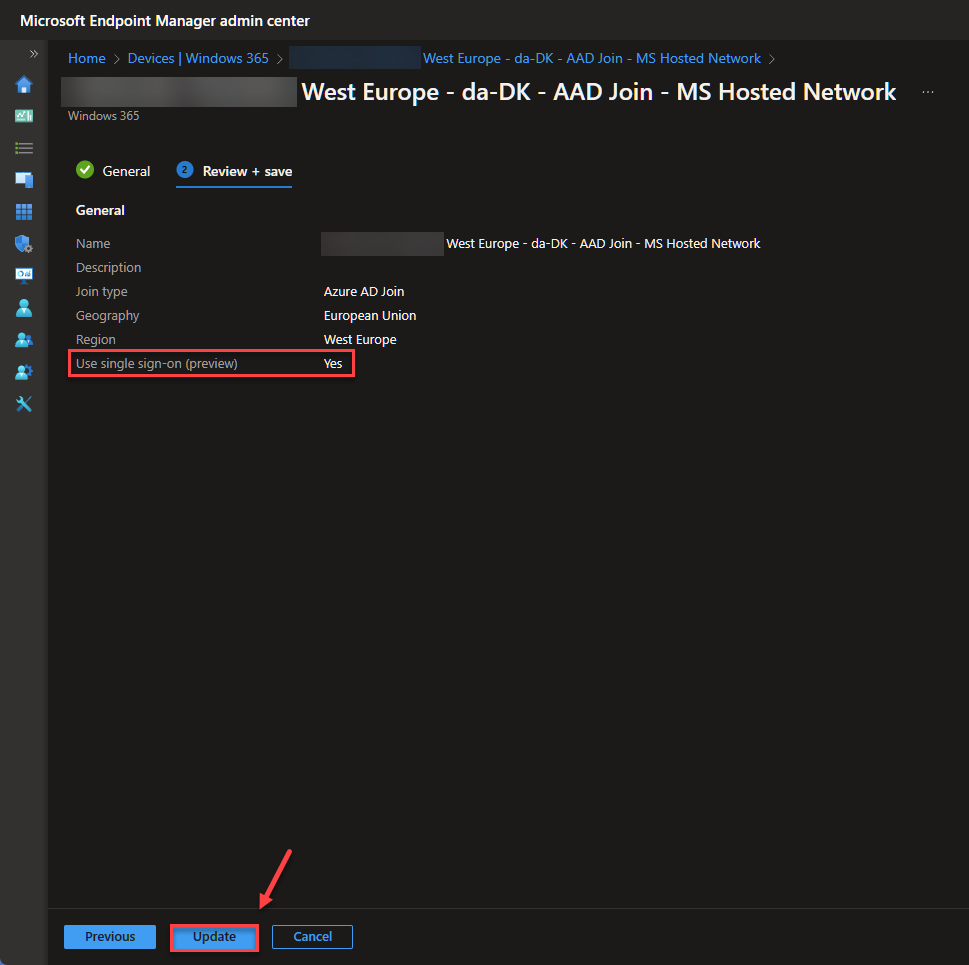
Review the configuration and click Update.
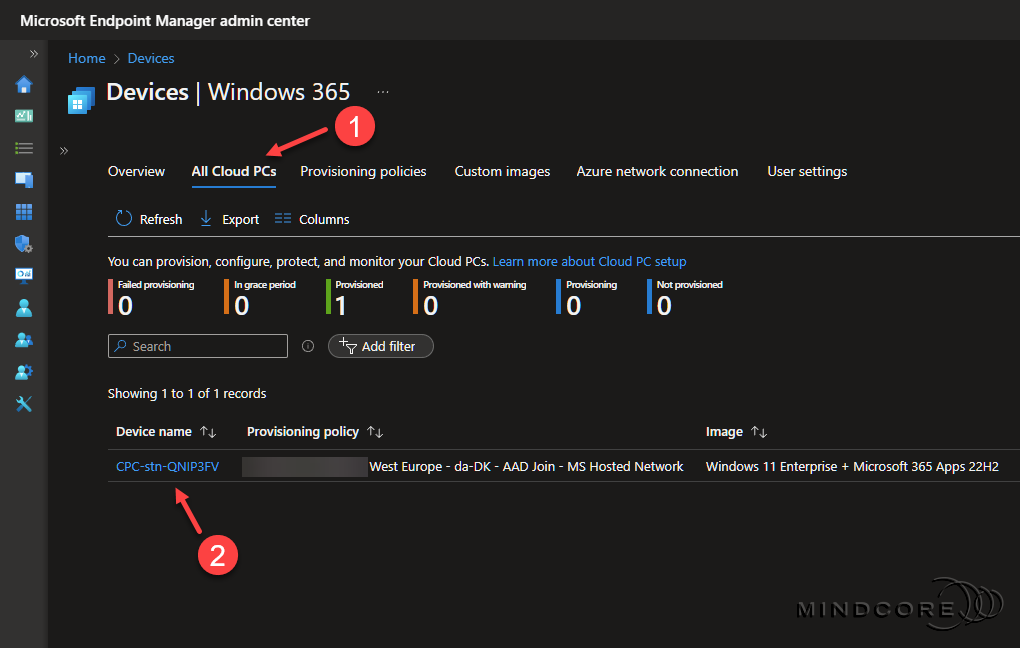
From Devices | Windows 365, click the All Cloud PCs tab.
If you’re provisioning a new Cloud PC, it will show in the list after approx. 20-30 minutes. Otherwise, select an existing Cloud PC to reprovision. – For this post, I chose to reprovision an existing Cloud PC.
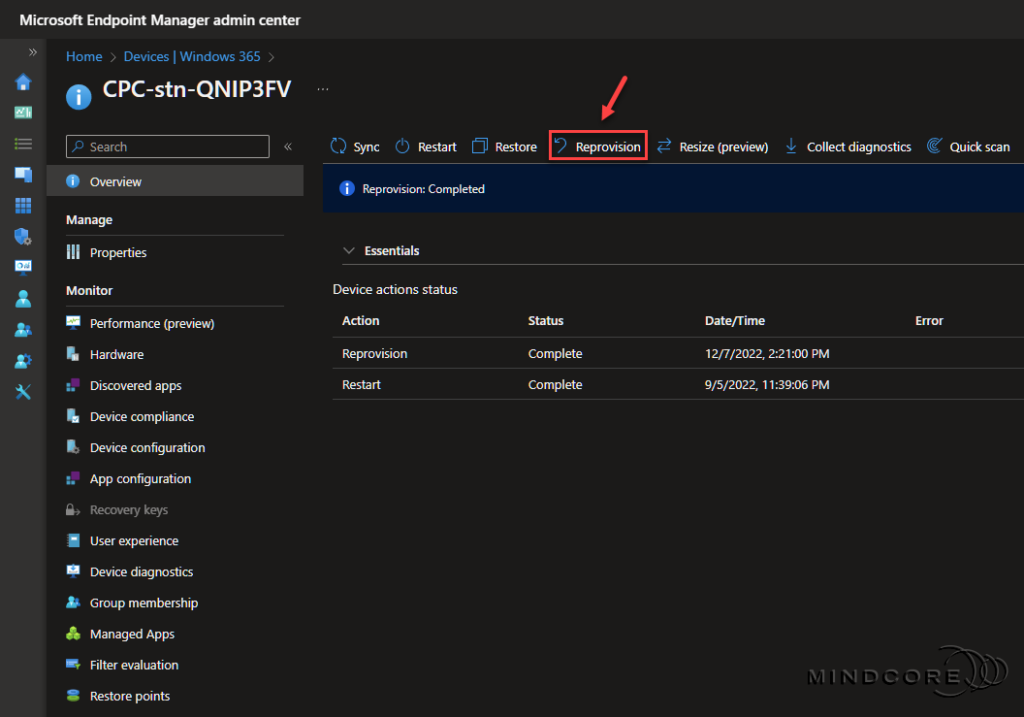
Important: If you change the network, single sign-on configuration or image in a provisioning policy, no change will occur for previously provisioned Cloud PCs. Newly provisioned Cloud PCs will honor the changes in your provisioning policy. To change the previously provisioned Cloud PCs to align with the changes, you must reprovision those Cloud PCs. Source: Microsoft Docs
Click Reprovision. If all goes well, the new reprovisioned Cloud PC should appear in the All Cloud PCs list after approx. 20-30 minutes.
Windows 365 SSO Experience (Web Portal)
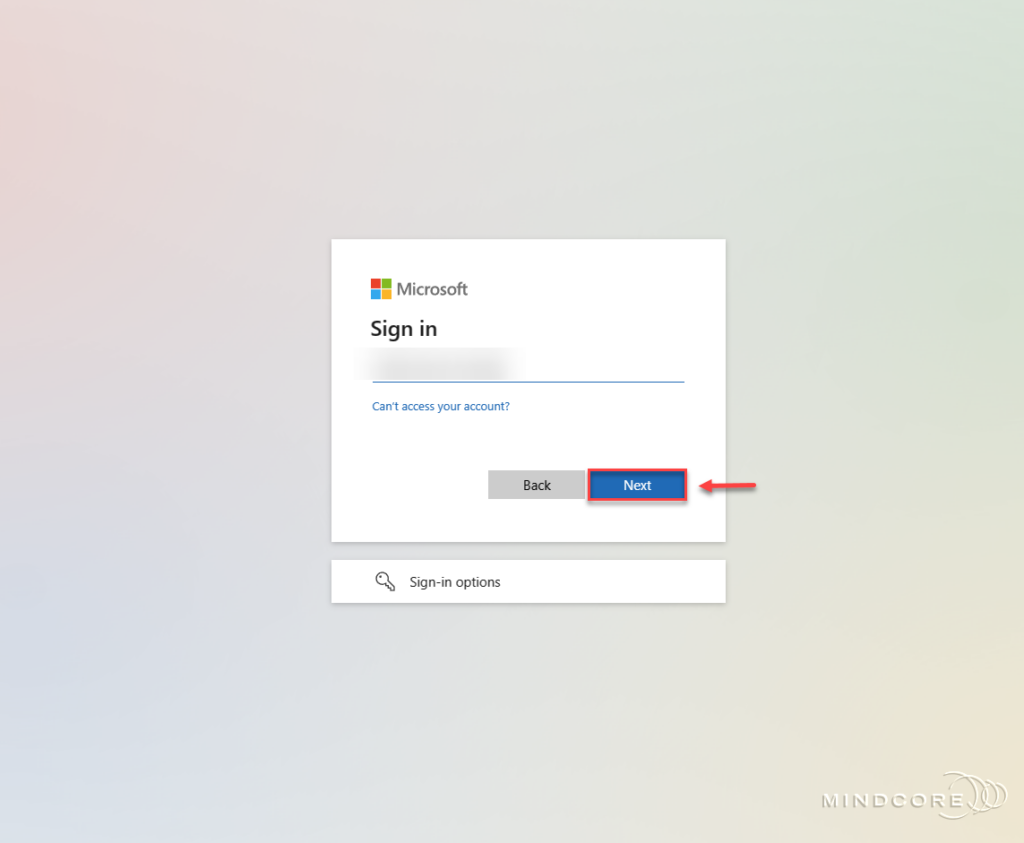
Let’s sign in to the newly reprovisioned Windows 365 Cloud PC and verify that SSO is enabled. Go to https://windows365.microsoft.com Enter your account and click Next.
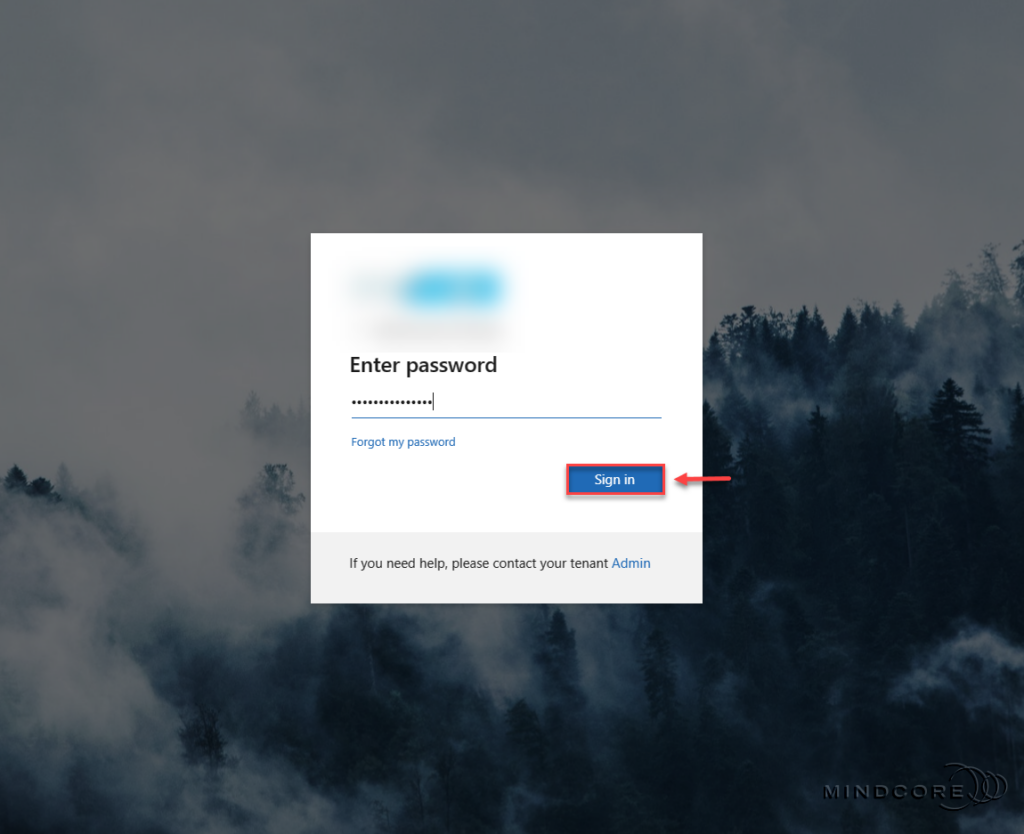
Enter your password and click Sign in.
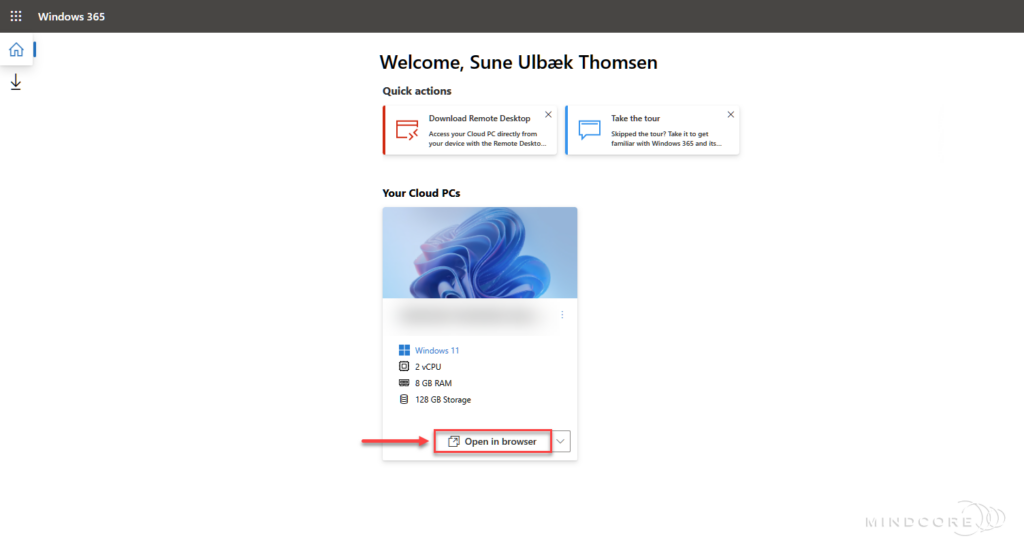
Click Open in browser.
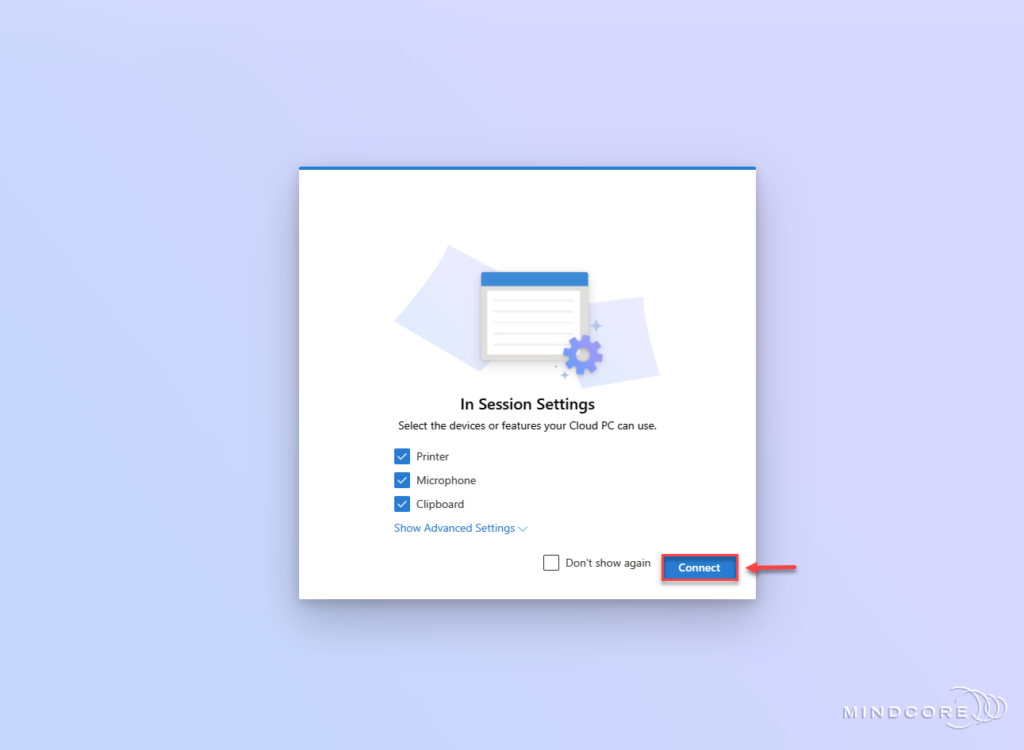
Click Connect.
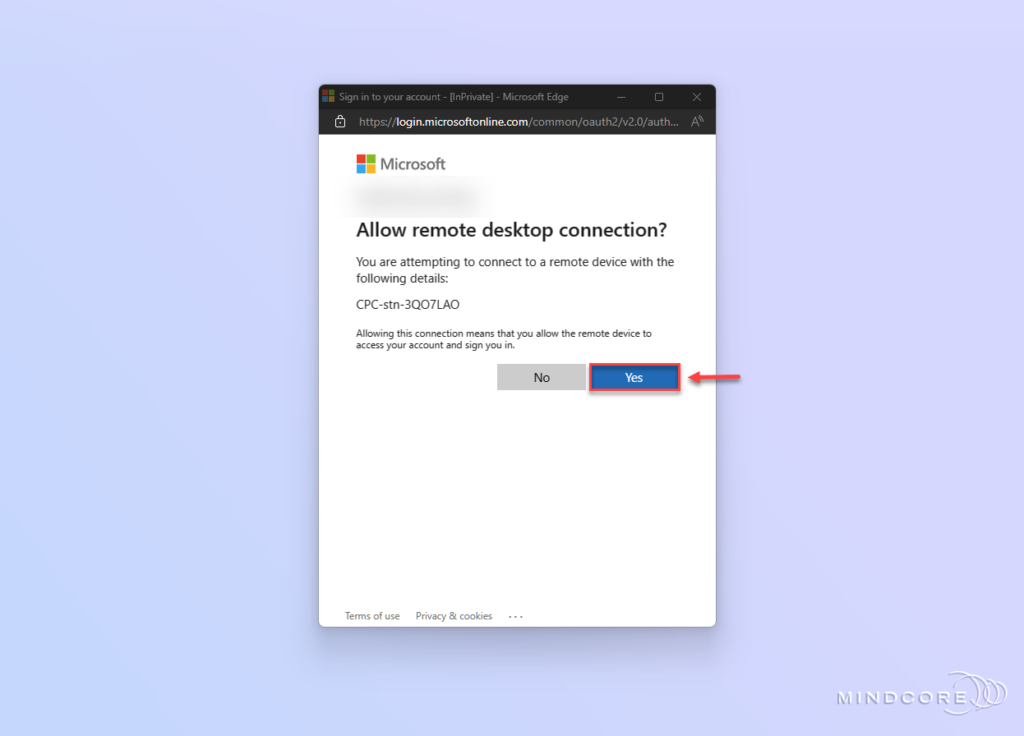
Instead of the usual sign-in prompt for the Windows 365 Cloud PC, we now need to allow the remote device to access your account and sign you in. – This means that SSO is working! Click Yes.
And we are signed in to the Windows 365 Cloud PC. – Pretty Awesome!

Windows 365 SSO Experience (Windows 365 App)
Next, let’s try and sign in to the Windows 365 Cloud PC using the new Windows 365 App.
Note: The Windows 365 App is only available from the Microsoft Store on Windows 11.
Open the Windows 365 App.
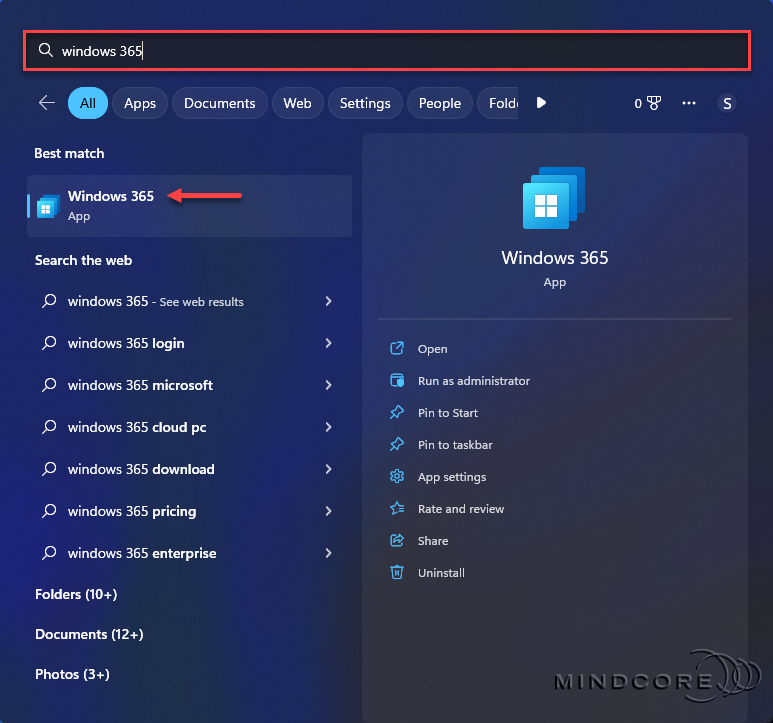
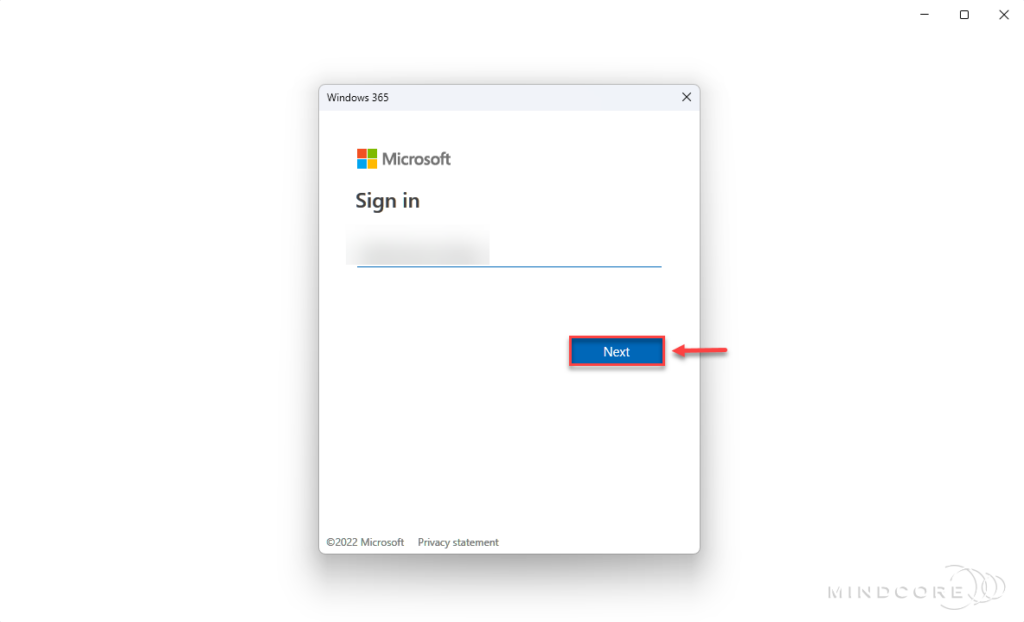
Enter your account and click Next.
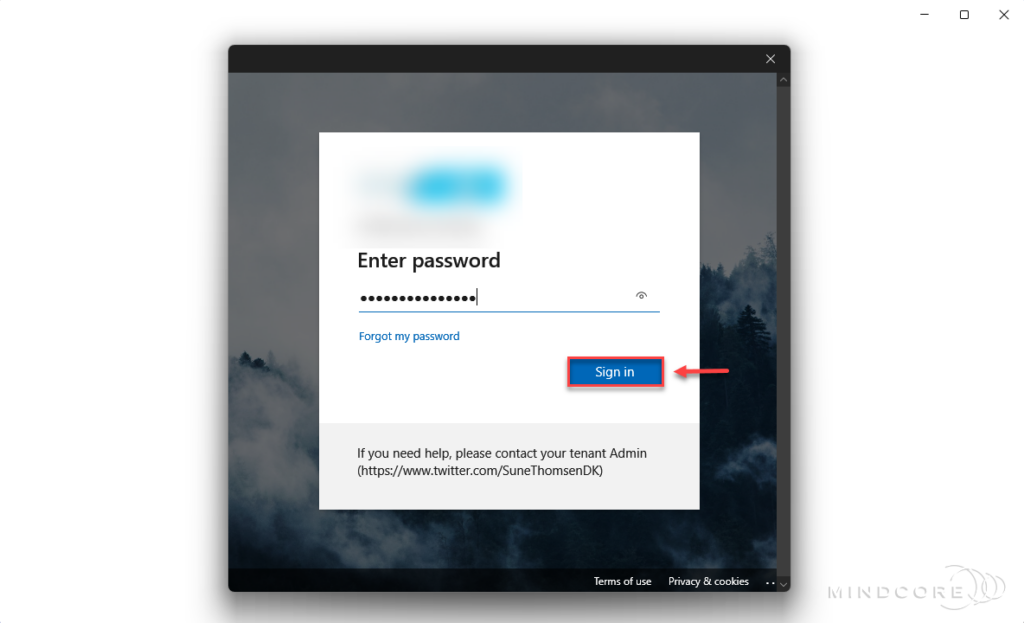
Enter your password and click Sign in.
Click Connect.
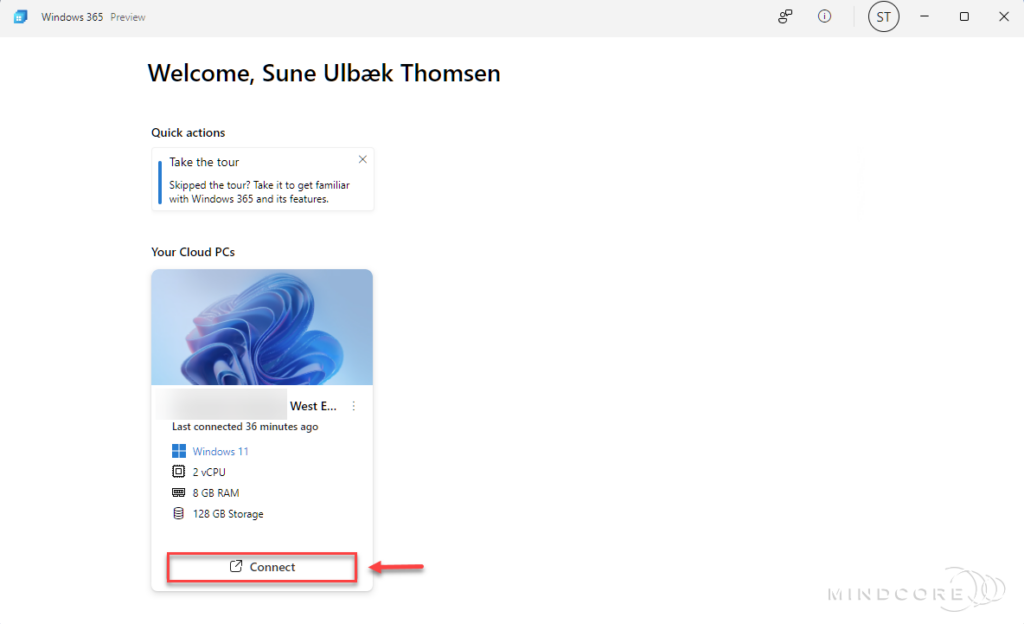
We can confirm once again that SSO works! – We are now signed in without any extra sign-in prompt.

Summary
In this blog post, you learned how to enable the new SSO option for Windows 365 Cloud PCs, and we then verified the results on a reprovisioned Cloud PC. No doubt Windows 365 Hybrid Azure AD Join SSO support will be very interesting for many Enterprise customers, so hopefully, we will see that feature very soon! – But with Windows 365 Azure AD Join (Bring Your Own Network), and if you have configured Azure AD Kerberos on-premises, you can actually leverage the new SSO option to access Kerberos-based resources and applications. See Identity and authentication Personally, I think this is pretty awesome and one of the last pieces of the puzzle to provide the end user with the best possible sign-in experience on their personal Windows 365 Cloud PCs. That’s it, folks. Happy testing, and Merry Christmas! If you have any questions regarding this topic, please feel free to reach out to me.
Last updated
