Source: Microsoft Tech Community
Source: Microsoft Tech Community

| Assigned Roles | Service Account |
|---|---|
| Helpdesk Administrator | • Modern Workplace Interactive Administrator Account |
| Intune Administrator | • Modern Workplace Administrator Account • Modern Workplace Interactive Administrator Account |
| Security Reader | • Modern Workplace Administrator Account |
| User Administrator | • Modern Workplace Administrator Account • Modern Workplace Interactive Administrator Account |
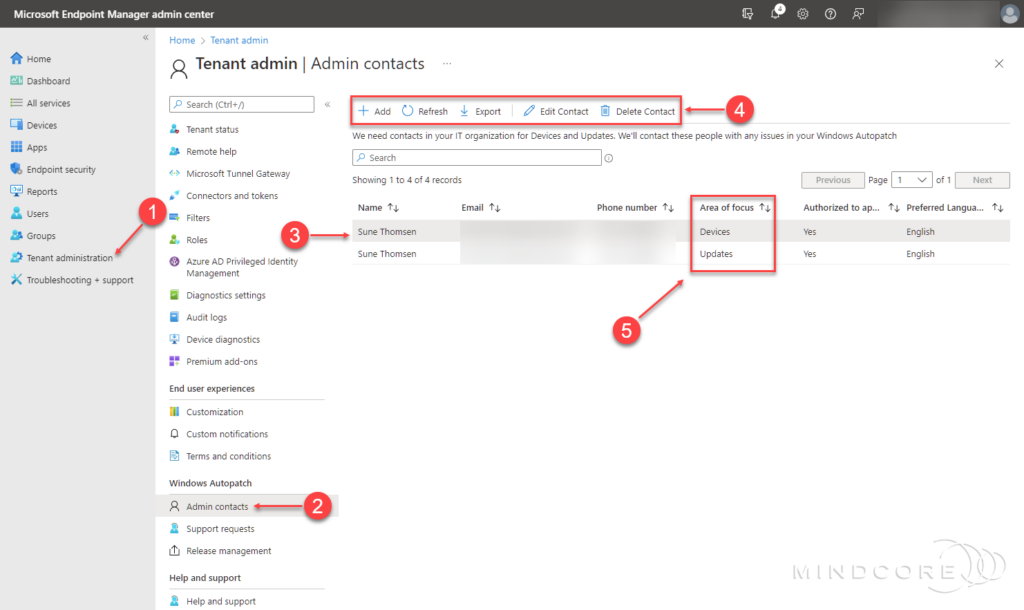
| Area of focus | Description |
|---|---|
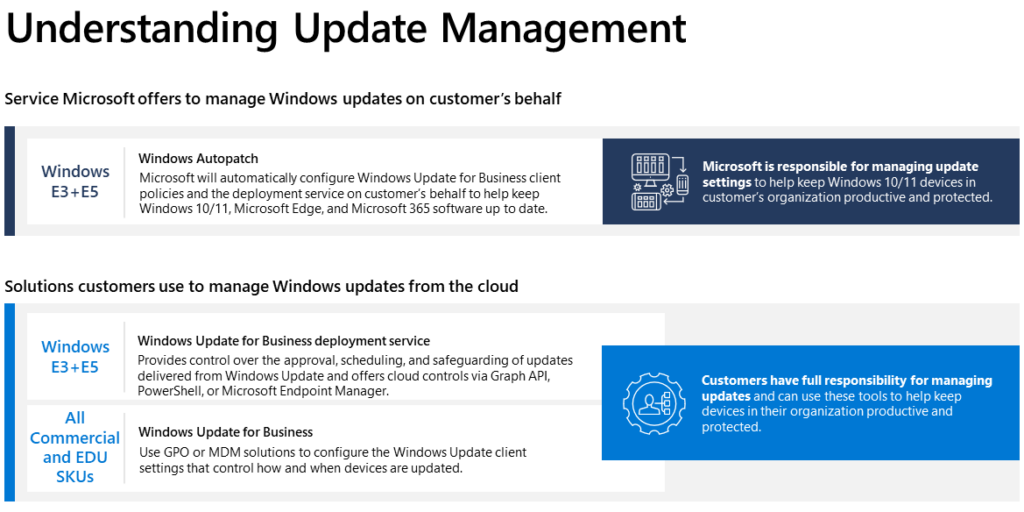
| Devices | • Device Registration • Device Health |
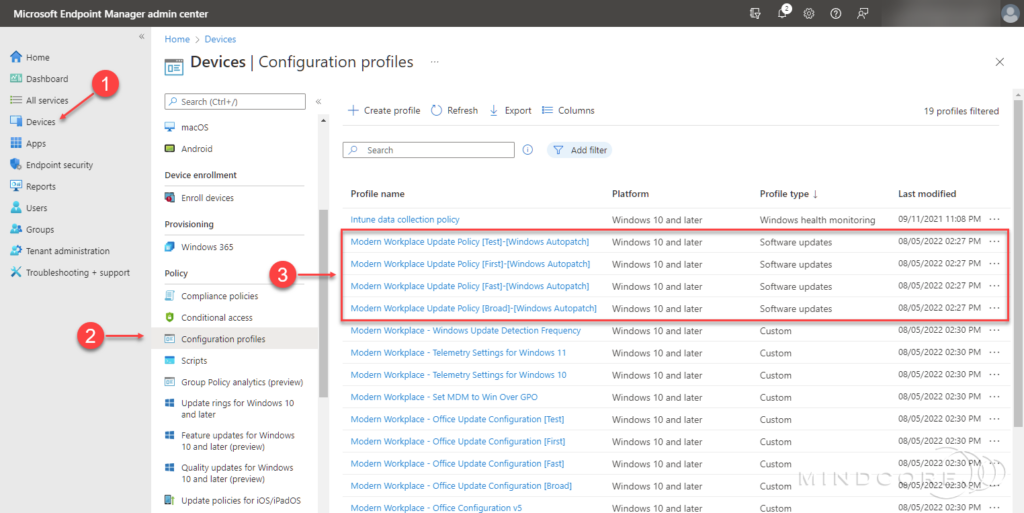
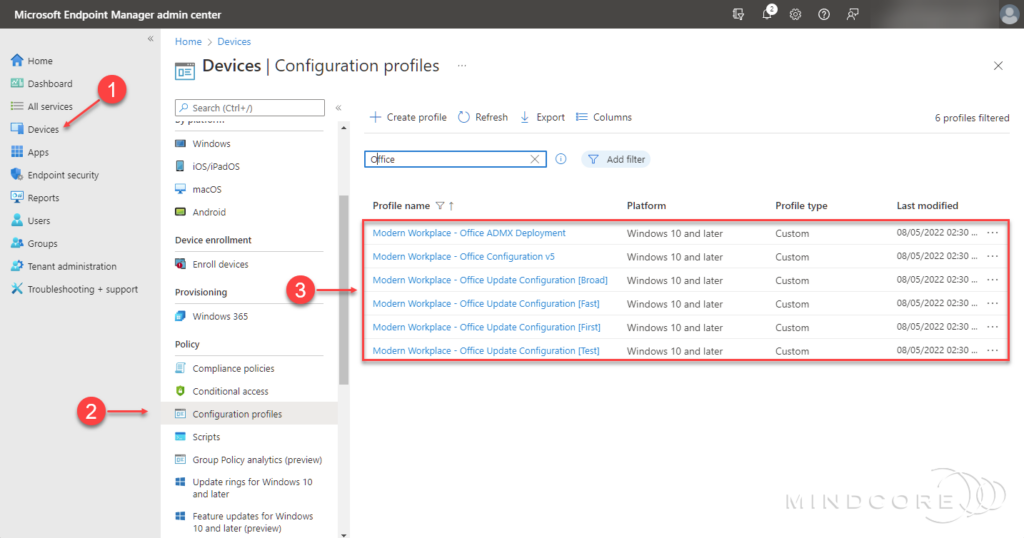
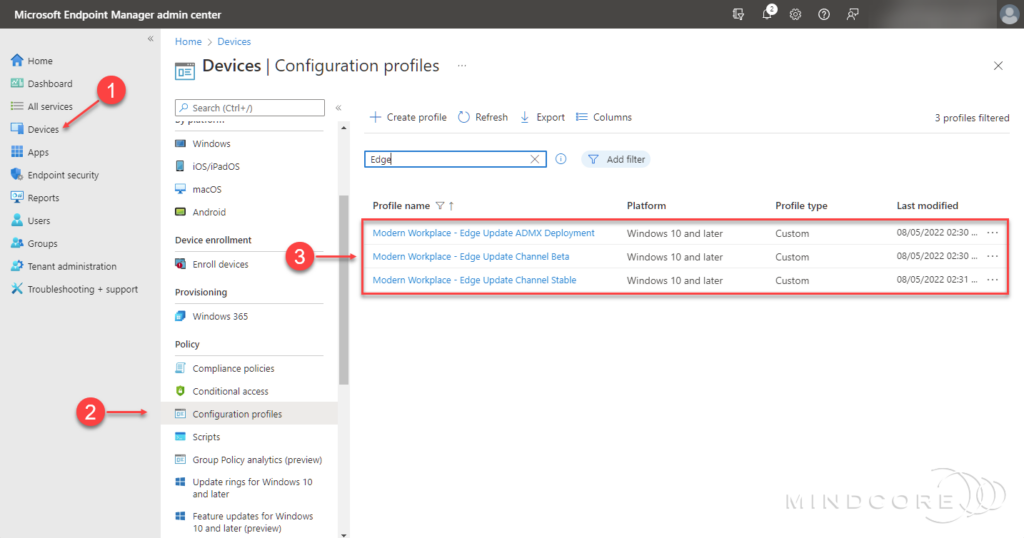
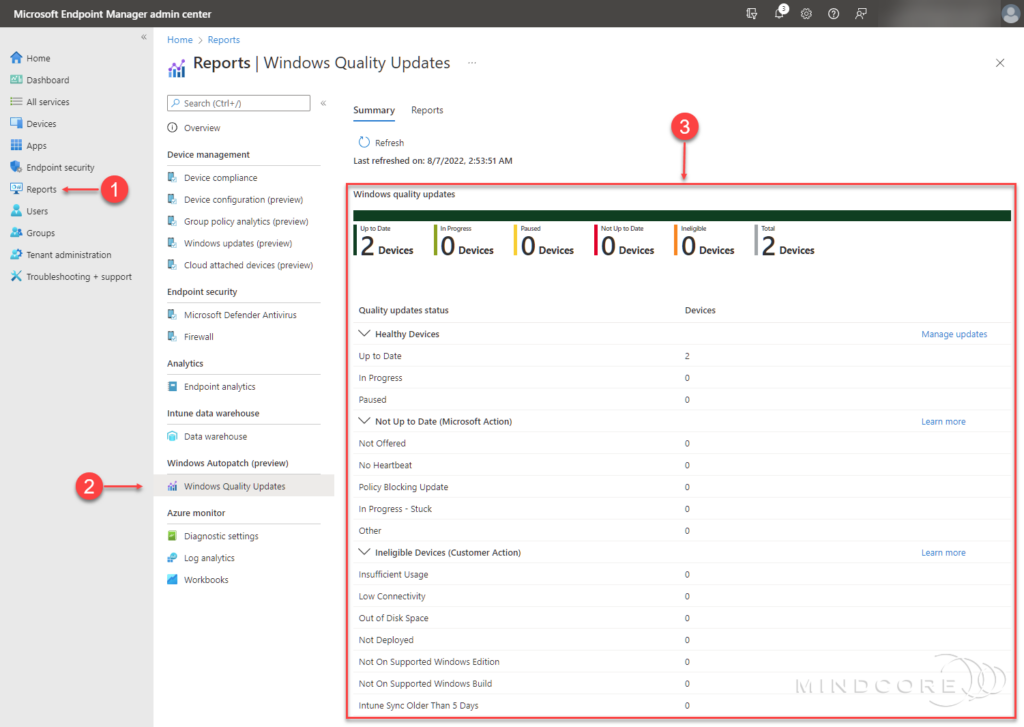
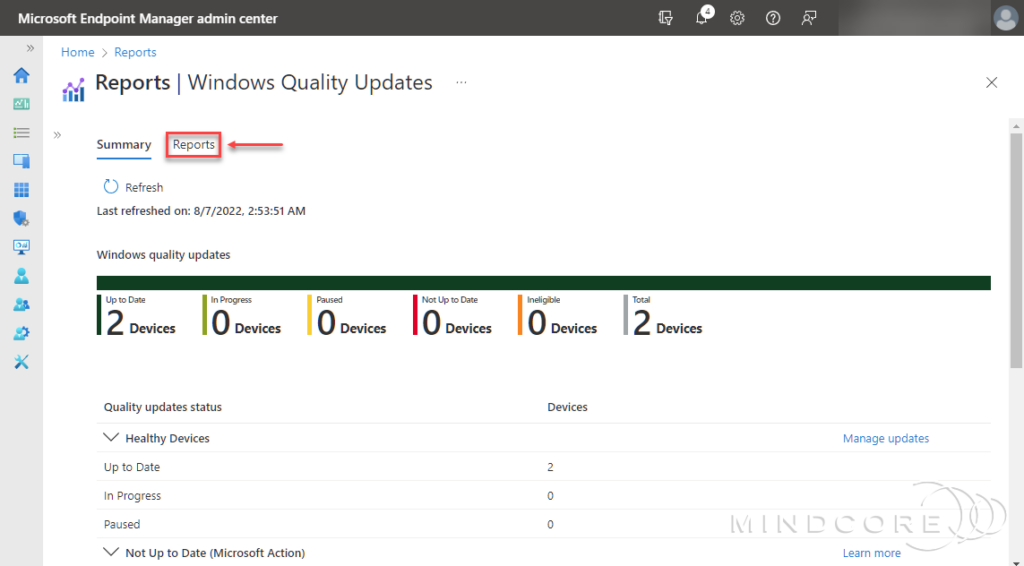
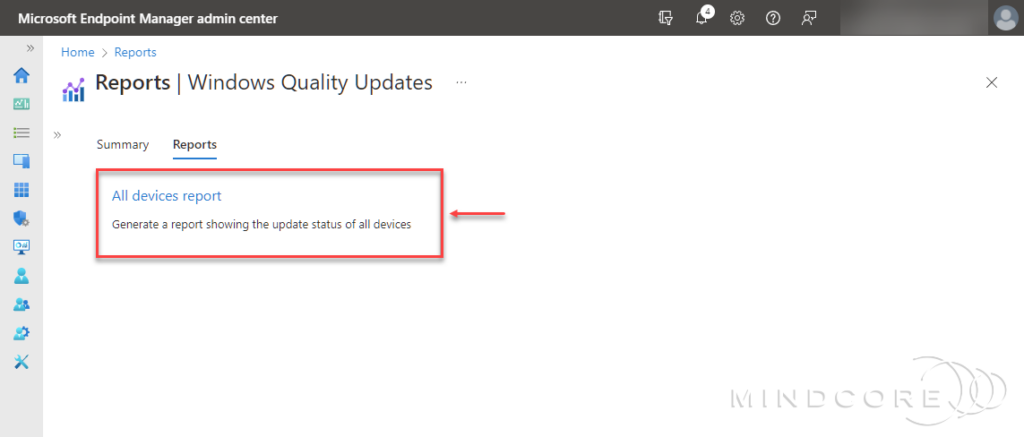
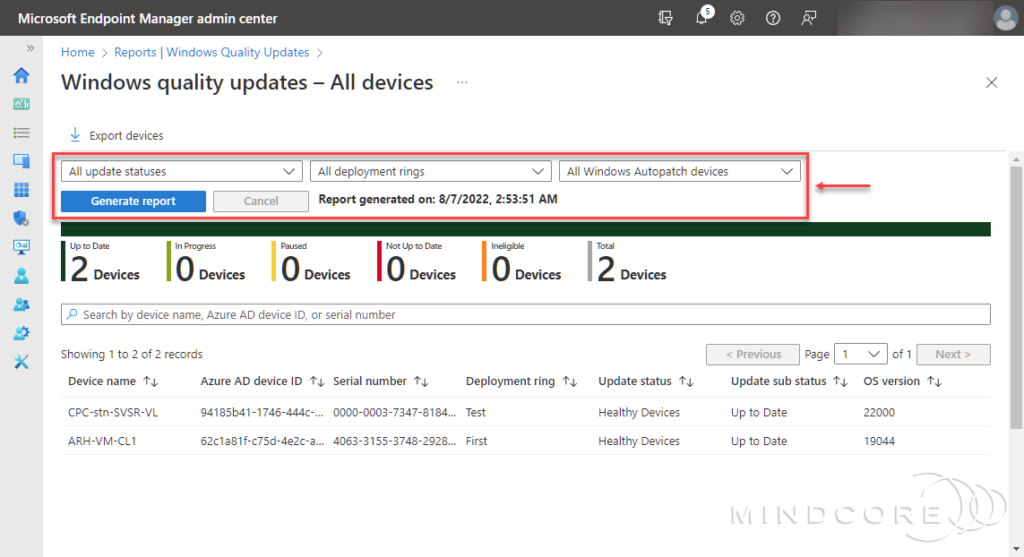
| Updates | • Windows Quality Updates • Windows Feature Updates • Microsoft 365 Apps for Enterprise Updates • Microsoft Edge Updates • Microsoft Teams Updates |
| Tab | Purpose |
|---|---|
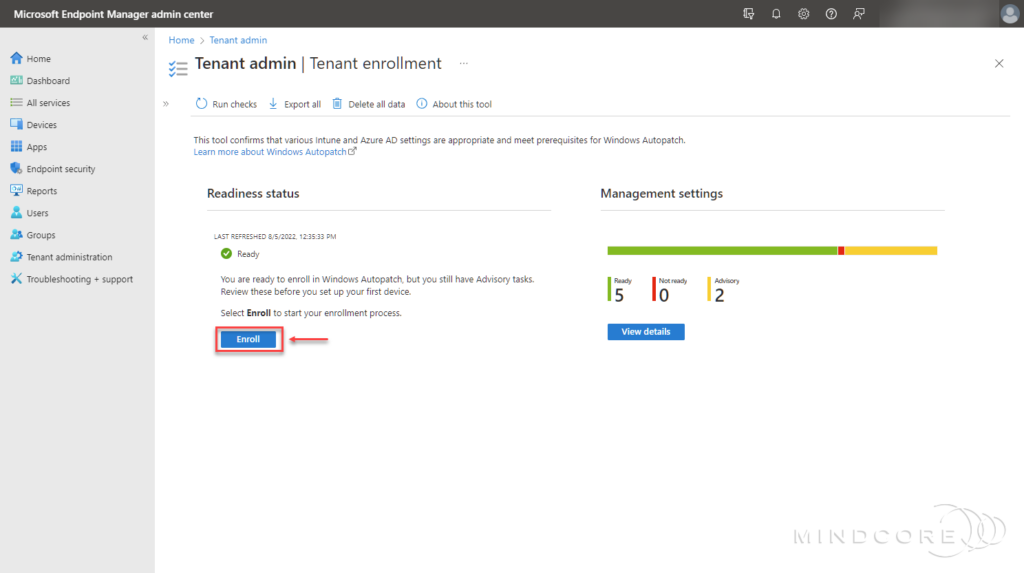
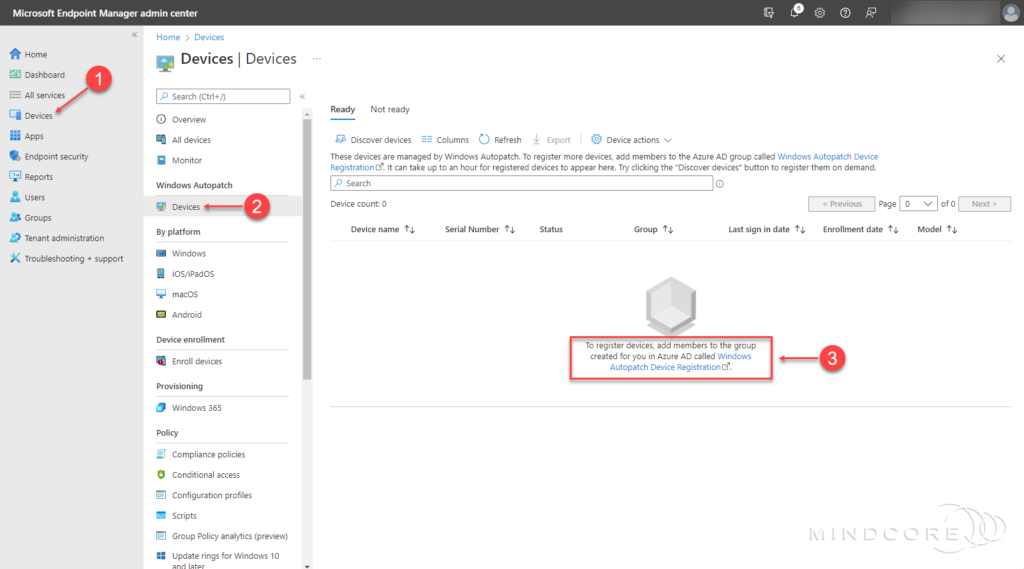
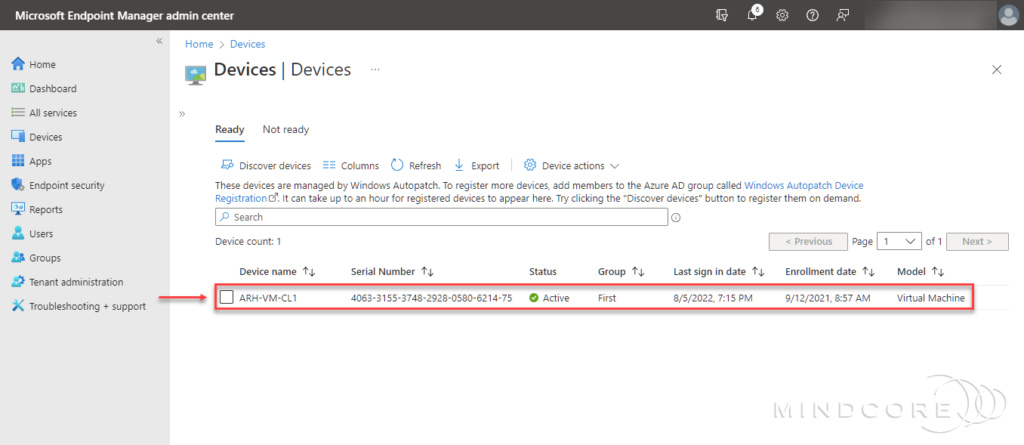
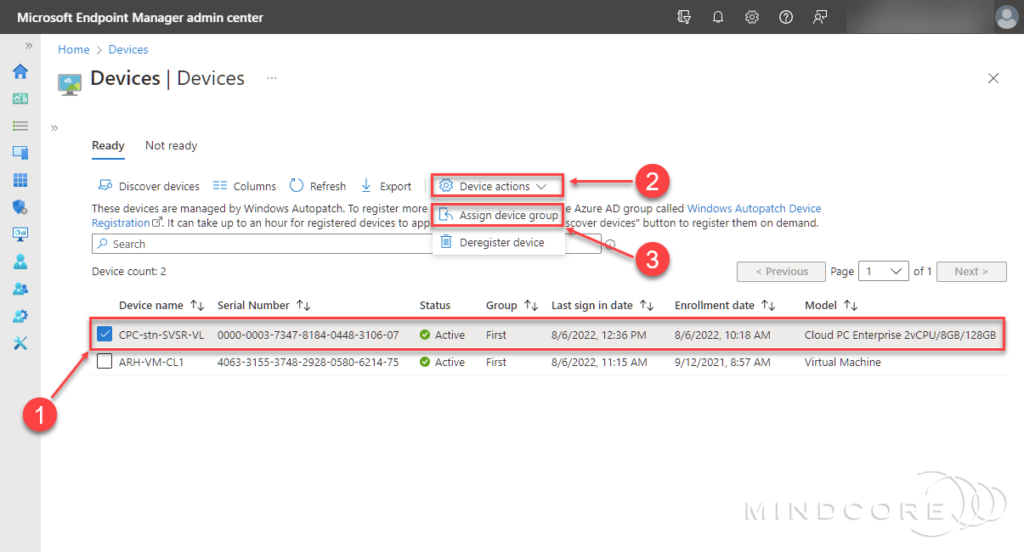
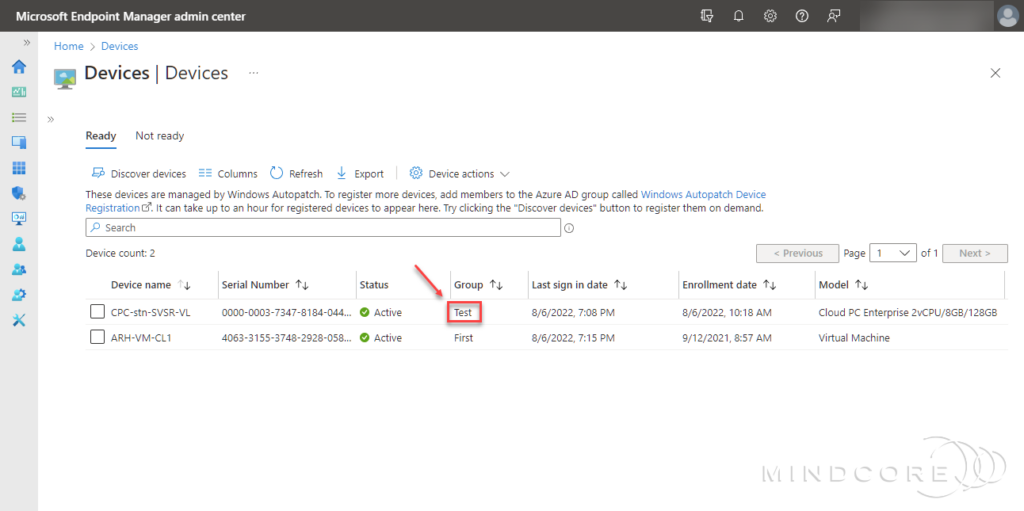
| Ready | The purpose of the Ready tab is to show devices that were successfully registered to the Windows Autopatch service. |
| Not ready | The purpose of the Not ready tab is to help you identify and remediate devices that don’t meet the prerequisite checks to register into the Windows Autopatch service. This tab only shows devices that didn’t successfully register into Windows Autopatch. |

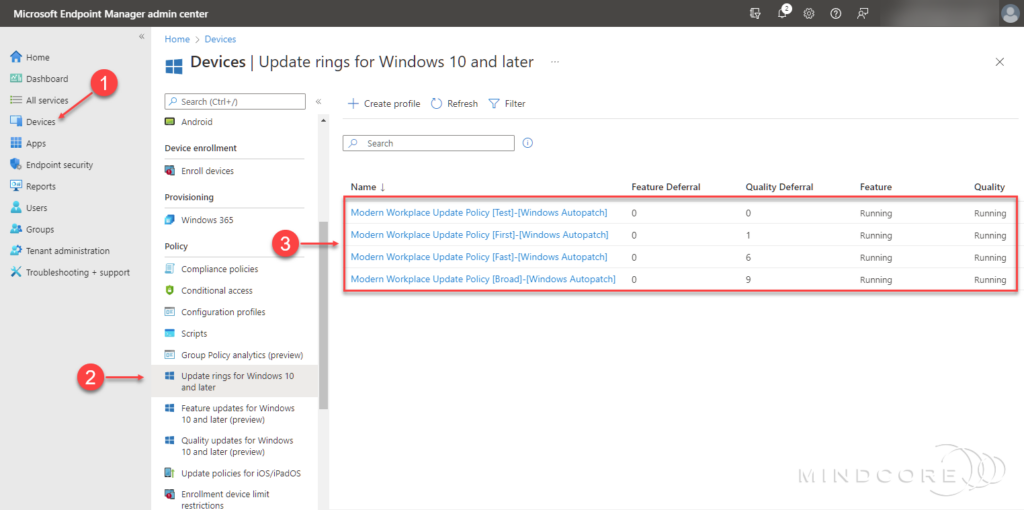
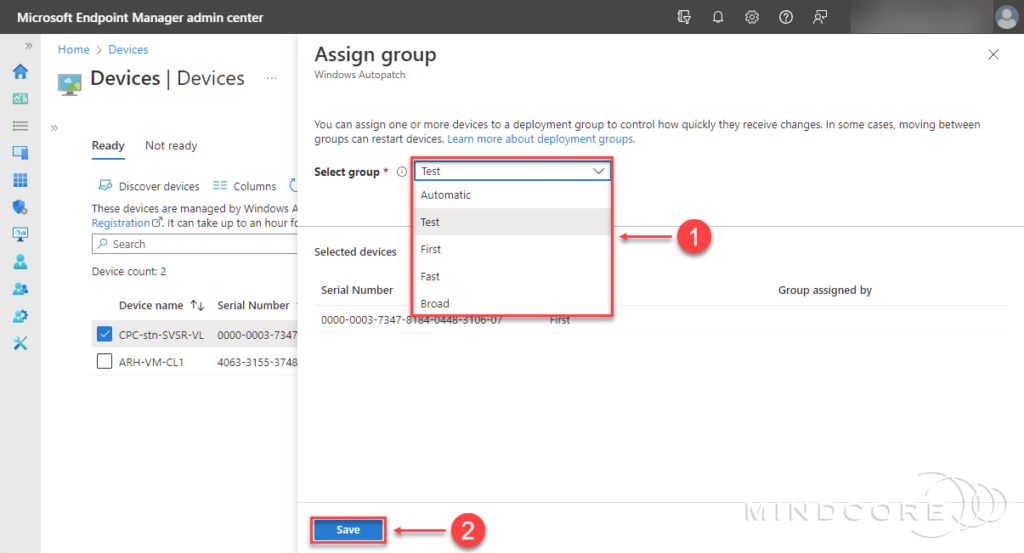
| Ring | Default device count | Description |
|---|---|---|
| Test | Zero | Windows Autopatch doesn’t automatically add devices to this ring. You must manually add devices to the Test ring. The recommended number of devices in this ring, based upon your environment size, is as follows: • 0–500 devices: minimum one device • 500–5000 devices: minimum five devices • 5000+ devices: minimum 50 devices Devices in this group are intended for your IT Administrators and testers since changes are released here first. This release schedule provides your organization the opportunity to validate updates prior to reaching production users. |
| First | 1% | The First ring is the first group of production users to receive a change. This group is the first set of devices to send data to Windows Autopatch and are used to generate a health signal across all customers. For example, we can generate a statistically significant signal saying that critical errors are trending up in a specific release for all customers but can’t be confident that it’s doing so in your environment. Since Windows Autopatch doesn’t yet have sufficient data to inform a release decision, devices in this ring might experience outages if there are scenarios that weren’t covered during testing in the Test ring. |
| Fast | 9% | The Fast ring is the second group of production users to receive changes. The signals from the First ring are considered as a part of the release process to the Broad ring. The goal with this ring is to cross the 500-device threshold needed to generate statistically significant analysis at the tenant level. These extra devices allow Windows Autopatch to consider the effect of a release on the rest of your devices and evaluate if a targeted action for your tenant is needed. |
| Broad | 90% | The Broad ring is the last group of users to receive changes. Since it contains most of the devices enrolled in Windows Autopatch, it favors stability over speed in deployment. |
| Update Type | Group | Feature Update | Timeline | Deferral | Deadline | Grace period |
|---|---|---|---|---|---|---|
| Windows Quality | Test First Fast Broad | N/A N/A N/A N/A | N/A N/A N/A N/A | 0 1 6 9 | 0 2 2 5 | 0 2 2 2 |
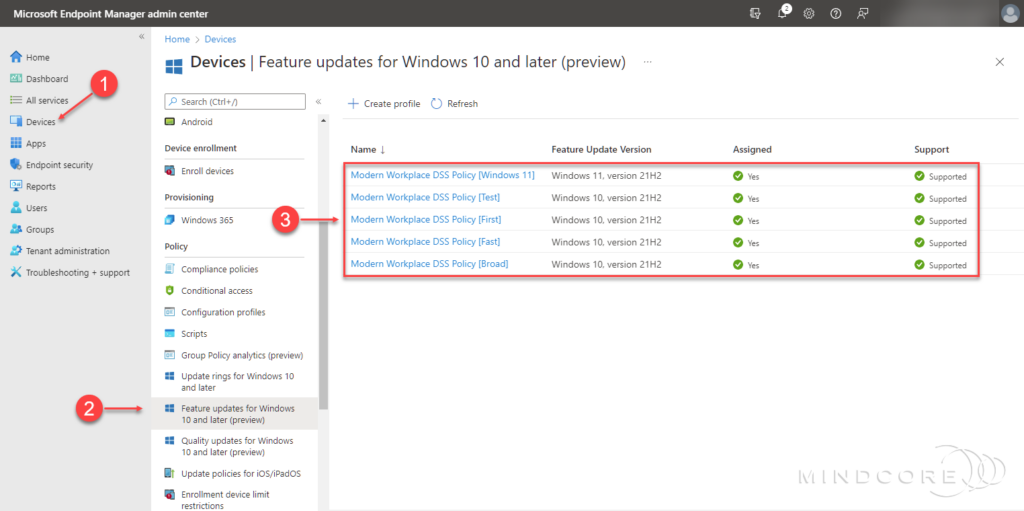
| Windows Feature | Test First Fast Broad | 21H2 21H2 21H2 21H2 | Release + 0 Release + 30 Release + 60 Release + 90 | 0 0 0 0 | 5 5 5 5 | 0 0 2 2 |
| Windows Expedited | All Devices | N/A | N/A | 0 | 1 | 1 |